How to tile a kitchen: The ultimate guide
for walls and floors
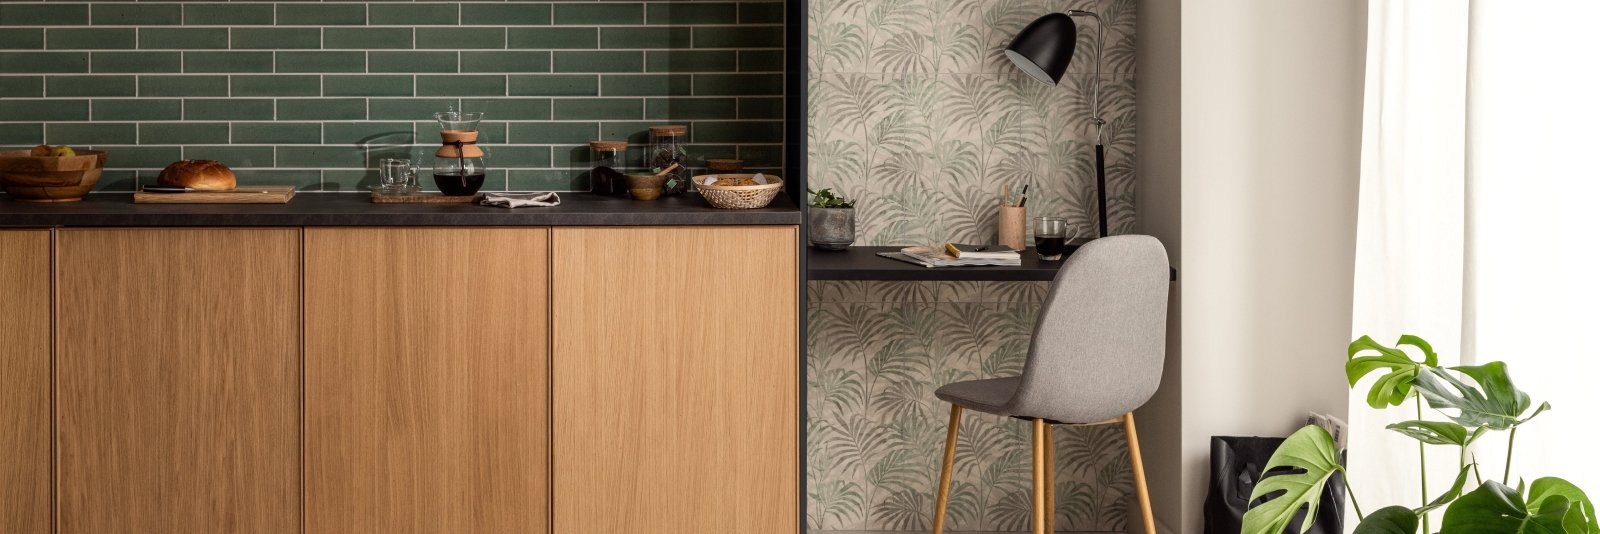
 Add timeless style with our Nina Campbell La Moulade Chocolate tiles, perfect for warm, sophisticated kitchen walls.
Kitchen tiling represents one of the most transformative DIY projects you can undertake. While over 70% of kitchen renovations feature tiled surfaces, many projects fail due to improper technique or preparation. The difference between a professional result and a costly disaster often comes down to understanding the fundamentals.
In this guide:
Key points
- Preparation: Proper planning prevents 90% of common tiling mistakes.
- Technique: Walls need lighter adhesive and smaller working sections than floors.
- Budgeting: Always order 10-15% extra tiles for cuts and breakages.
- Patience: Allow 24-48 hours before grouting for optimal adhesive curing.
Choosing the right kitchen tiles

The kitchen environment presents unique challenges—temperature fluctuations, moisture, and high traffic. Material choice is critical.
| Material | Best Use | Key Features |
|---|---|---|
| Porcelain | Floors & Walls | Extremely durable, low water absorption (<0.5%), stain resistant. Ideal for high traffic. |
| Ceramic | Walls & Backsplashes | Cost-effective, easier to cut, huge variety of designs. |
| Natural Stone | Feature Floors | Stunning natural look (Marble/Granite). Requires regular sealing. |
| Glass | Backsplashes | Hygienic, non-porous, reflects light beautifully. |
Planning your kitchen tiling project

Successful tiling begins long before applying adhesive. Measure meticulously: measure height and width separately, noting obstacles like outlets. Always add 10-15% extra tiles for cuts and future repairs.
Timeline: An average kitchen takes 2-3 days:
Day 1: Prep and wall tiling.
Day 2: Floor tiling.
Day 3: Grouting and finishing.
Essential tools and materials

- Cutting: Manual snap cutter for ceramic; wet saw for porcelain/stone.
- Trowels: 6mm notched for walls, 10mm+ for floors.
- Layout: Spirit level (min 1200mm), tape measure, spacers.
- Adhesive: Wall-specific (anti-slip) vs Floor-specific (flexible).
Preparing your kitchen for tiling

Rushing prep guarantees failure. Ensure walls are flat, clean, and sound. Remove old wallpaper completely and sand glossy paint. For floors, use self-levelling compounds if there are significant variations.
Pro Tip: Plasterboard requires priming with diluted PVA to prevent it from sucking moisture out of the adhesive too quickly.
Tiling kitchen walls

1. Start Point: Find the centre of the wall. Work outwards to ensure equal cuts at both ends.
2. Adhesive: Spread in small 1m² sections. Hold the trowel at 45 degrees.
3. Placement: Press tiles firmly with a twist. Use 2-3mm spacers.
4. Check Level: Use your spirit level constantly. Adjust before adhesive sets.

Tiling kitchen floors

Floors require heavy-duty adhesive and careful attention to structural support. Wooden subfloors often need an 18mm ply or cement backer board overlay.
Technique: Back-butter large tiles (apply adhesive to the back of the tile) to ensure full coverage and prevent cracking under heavy loads (fridges, washing machines).
Grouting and finishing

Wait at least 24 hours before grouting. Apply grout diagonally with a rubber float. Clean excess with a damp sponge once it begins to set (usually 15-30 mins), but be careful not to wash the grout out of the joints.
Sealant: Finish edges and corners with high-quality sanitary silicone to allow for movement and prevent water ingress.

Common mistakes to avoid

- Poor Planning: Results in slivers of tile at edges. Dry lay first!
- Wrong Adhesive: Using wall adhesive on floors causes cracked tiles.
- Rushing: Grouting too soon can shift tiles and ruin the bond.
- Inadequate Waterproofing: Always tank wet areas around sinks.
Ready to start your project?
Browse our full range of Kitchen Tiles to find your perfect match.
Share:
Choosing ceramic tiles for your bathroom: follow our expert tips for perfect results
Wall tiles for bathrooms: stylish tile ideas you’ll love