
Tile patterns are redefining modern home aesthetics. With over 70% of homeowners opting for unique tile designs in their renovations, the choice of pattern can dramatically influence a space’s overall appeal. But here’s the surprise—many are still stuck in outdated trends that don’t resonate with contemporary tastes. The truth is, stepping into the world of innovative tile patterns can elevate your interior and reflect your personal style like never before.
Tile Pattern Trends and Inspirations
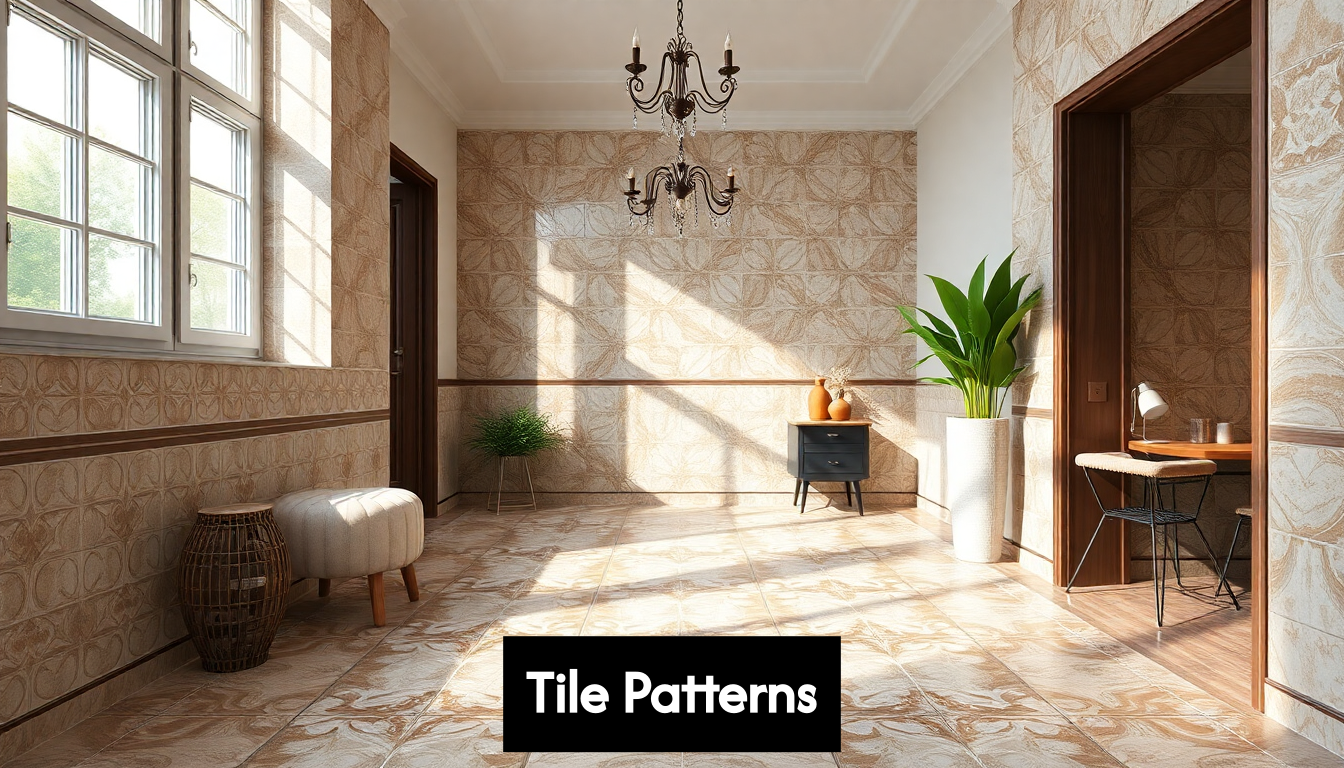
The world of tile design is constantly evolving, with new patterns, layouts and styles emerging each year. Understanding current trends can provide valuable inspiration for your next tiling project, whether you’re renovating a bathroom, updating a kitchen or creating a statement feature wall. Let’s explore some of the most popular tile patterns that are shaping interior design today.
Latest Tile Pattern Trends
The tile industry has seen significant shifts in recent years, with traditional patterns being reimagined and new approaches gaining popularity. According to recent industry insights, several key patterns are predicted to dominate in 2025. Vertically stacked tiles are creating modern, clean aesthetics that draw the eye upward, making spaces feel taller. This departure from the conventional horizontal layout offers a fresh perspective for contemporary interiors.
Offset brick patterns continue to endure as a timeless classic but with fresh interpretations. Rather than the standard half-offset, designers are experimenting with third-offset and quarter-offset arrangements that create subtler, more sophisticated rhythms across surfaces. This variation maintains the familiarity of brick patterns while introducing visual interest.
Herringbone and chevron patterns have experienced a remarkable resurgence. These dynamic arrangements bring movement and energy to floors and walls. The angular nature of these patterns can make small spaces appear larger while adding a touch of sophistication. Contemporary designers are playing with scale, using both miniature mosaic pieces and oversized planks to create dramatic effects with these patterns.
Texture and Dimension in Tile Design
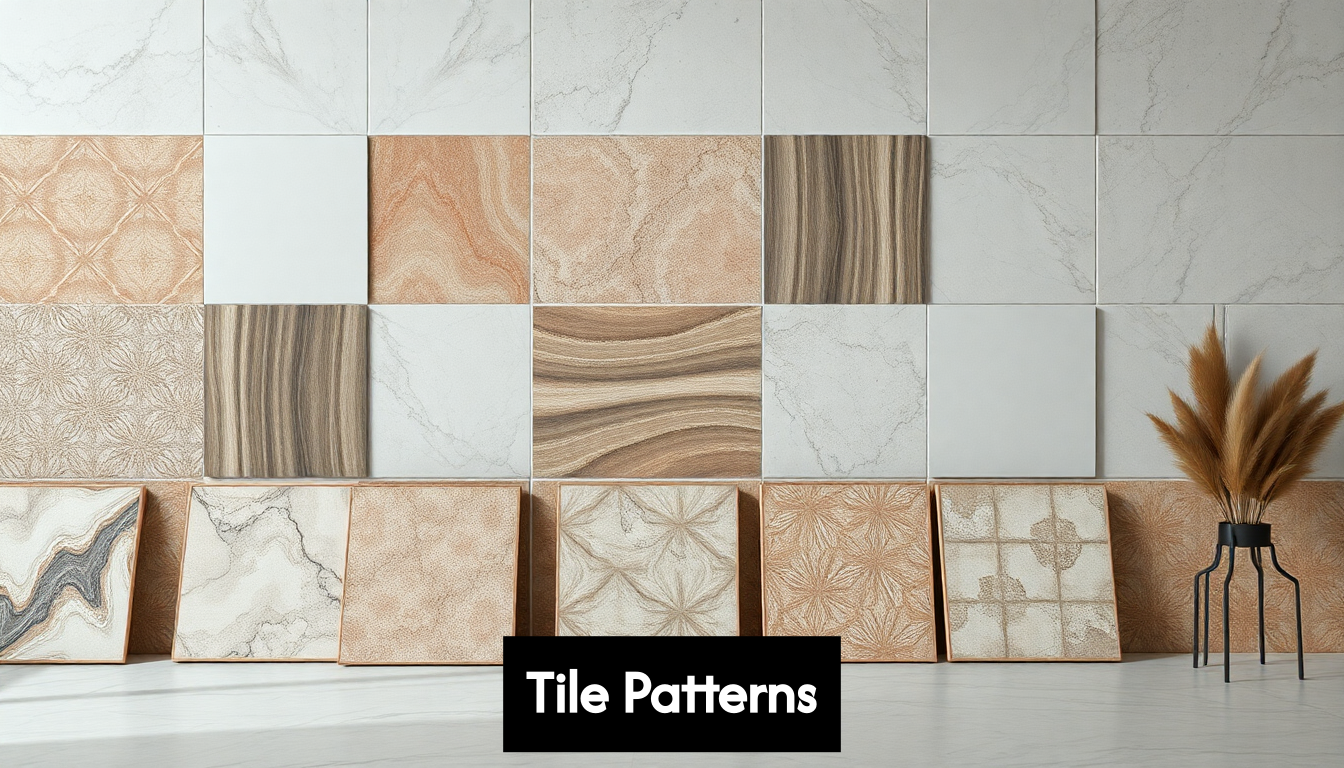
Beyond layout patterns, texture has become a defining element in modern tile design. Textured tiles are dominating the market, offering both visual and tactile interest. From handcrafted Zellige tiles with their characteristic gloss variations to 3D sculptural tiles that create shadow play, texture adds depth to any tiling project.
Mixing finishes has also emerged as a distinctive trend. Combining matte and glossy tiles within the same pattern creates subtle contrast and dimension that shifts with changing light conditions throughout the day. This approach works particularly well in spaces with abundant natural light.
Geometric patterns have moved beyond simple shapes to create bold, artistic statements. Hexagons, diamonds, and triangles allow for creative arrangements that can serve as focal points in otherwise understated spaces. These patterns work exceptionally well for feature walls, shower enclosures, or kitchen backsplashes.
Style Integration and Personalisation
The most successful tile installations reflect personal style while complementing the overall design aesthetic of a space. Interior design professionals emphasise that tile patterns should feel integrated rather than isolated design choices. Consider how your chosen tile pattern relates to other elements in the room—furniture lines, architectural features, and even textiles.
Colour drenching—using a single colour throughout a space, including tiles—creates a cohesive, luxurious atmosphere. This approach allows pattern to take centre stage without competing colour elements. Similarly, using a single stone type throughout a space (stone drenching) creates a unified, high-end look while allowing the natural variations in the material to provide subtle visual interest.
The classic checkerboard pattern continues to endure but with contemporary interpretations. Modern takes include unexpected colour combinations beyond the traditional black and white, as well as variations in scale. Oversized checkerboards make bold statements, while miniature versions create more detailed, textural effects.
As you consider popular tile patterns for your project, remember that the most successful designs balance current trends with timeless appeal, ensuring your tiled surfaces will remain stylish for years to come.
Key Takeaways
| Takeaway | Explanation |
|---|---|
| Embrace Modern Patterns | Vertically stacked tiles and reimagined offset brick patterns are trending, providing sleek and contemporary aesthetics that enhance space perceptions. |
| Incorporate Texture | Textured tiles and mixed finishes add depth and visual interest, making spaces stand out beyond traditional flat surfaces. |
| Personalise Your Design | Ensure that tile patterns integrate seamlessly with the room’s overall design, and consider techniques like colour drenching for a cohesive look. |
| Innovative Layouts | Explore non-traditional layouts, such as diagonal grids and modular tiling, to break away from standard patterns and add uniqueness to your space. |
| Ensure Proper Installation | Focus on thorough preparation, meticulous layout techniques, and choosing the right adhesives to maximise the durability and appearance of your tile installations. |
Innovative Layout Ideas Explained
When it comes to tile installation, the layout pattern you choose can dramatically transform a space. Beyond the popular tile patterns that follow current trends, there are innovative layout ideas that can make your tiled surfaces truly distinctive. These creative approaches to tile arrangement can add character, visual interest, and a personalised touch to any room.
Breaking Traditional Grid Patterns
The standard grid pattern—tiles aligned in straight rows and columns—has been the default for decades. However, breaking away from this conventional arrangement opens up a world of design possibilities. One innovative approach is the diagonal grid, where square tiles are rotated 45 degrees to create a diamond effect. This simple adjustment can make small spaces appear larger and add movement to floors or walls.
Another departure from traditional grids is the basket weave pattern. This arrangement involves placing rectangular tiles in pairs, alternating horizontal and vertical orientations to create a woven appearance. The basket weave offers a sophisticated alternative to standard grids while maintaining a sense of order and symmetry. It works particularly well with rectangular subway tiles or planks in bathrooms and kitchens.
For those seeking more dramatic impact, the windmill pattern provides an interesting solution. This layout combines one large square tile with four smaller rectangular tiles arranged around it to form a windmill-like shape. The pattern repeats across the surface, creating a rhythmic, geometric effect that draws the eye without overwhelming the space.
Playing with Scale and Proportion
Innovative tile layouts often involve creative manipulation of scale and proportion. The ombré effect, for instance, gradually transitions from one colour to another across a surface. This can be achieved by carefully arranging tiles in a gradient pattern, creating a subtle colour shift that adds depth and visual interest. An ombré effect works beautifully in shower enclosures or as a kitchen backsplash.
The combination of different tile sizes within a single installation is another forward-thinking approach. This technique, sometimes called modular tiling, uses tiles of varying dimensions in a repeating pattern. For example, a modular layout might combine large format squares with smaller rectangles in a predetermined arrangement. This approach creates rhythmic complexity while maintaining order, perfect for adding sophistication to floors in living areas or entryways.
Strip mosaics represent yet another innovative way to play with proportion. This approach involves installing long, narrow tiles in horizontal or vertical bands, often mixing different widths. The result is a linear, contemporary look that can make spaces feel wider or taller depending on the orientation.
Artistic and Decorative Techniques
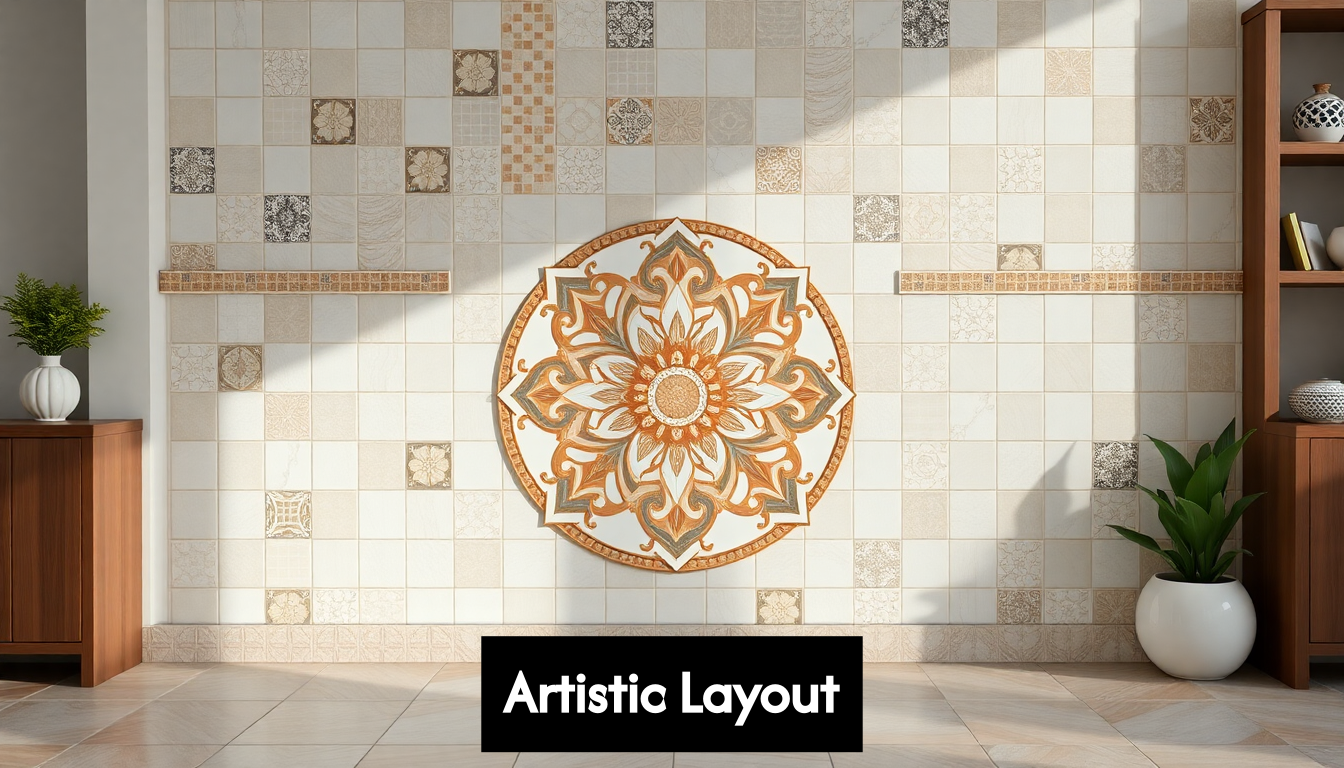
For those willing to push creative boundaries further, artistic layout techniques can transform tiles into true design features. Medallion installations create focal points by arranging tiles in circular or starburst patterns at the centre of a room or entryway. These dramatic centrepieces can anchor a space and serve as conversation starters.
Picture framing is another decorative technique where a border of contrasting tiles surrounds a central field, similar to a framed artwork. This approach works well to define areas within larger spaces, such as dining zones within open-plan living areas or to highlight a freestanding bath in a bathroom.
Perhaps the most avant-garde approach is the scattered or random pattern, where tiles of different colours or designs are distributed across a surface without a discernible pattern. While appearing random, these installations typically require careful planning to ensure balanced distribution of colours and shapes. The scattered approach works wonderfully with small format tiles in areas where you want to create playful, artistic expressions.
By expanding beyond conventional tile layouts, you can create surfaces that reflect your personal style while enhancing the architectural features of your space. These innovative layout ideas demonstrate that tiles aren’t just functional surface coverings—they’re versatile design elements capable of transforming ordinary rooms into extraordinary spaces.
Expert Installation Best Practices
Even the most beautiful tile pattern can fall short if not installed correctly. Professional installation techniques ensure your chosen tile layout achieves its full potential while maximising durability and minimising maintenance issues. Whether you’re working with a professional tiler or taking on the project yourself, understanding these expert best practices will help you achieve superior results.
Preparation Is Paramount
Professional tilers know that successful installation begins long before the first tile is placed. The substrate—the surface underneath your tiles—must be properly prepared to ensure longevity and prevent future problems. For floors, this means ensuring the surface is completely level. Even minor variations can lead to lippage (uneven tile edges) that not only look unprofessional but can create tripping hazards and damage tile edges over time.
Walls require equally careful preparation. They must be plumb (perfectly vertical), solid, and free from dust or debris. Any existing moisture issues should be addressed before tiling begins, particularly in bathrooms and kitchens where water exposure is common. In wet areas, using appropriate waterproofing membranes is not just recommended—it’s essential for preventing costly water damage behind your beautiful new tiles.
Experienced installers also recommend acclimating your tiles to the installation environment for at least 24 hours before beginning work. This minimises the risk of expansion or contraction after installation, which can lead to cracking or loose tiles. Temperature fluctuations during installation should also be avoided, making it important to maintain consistent room temperature throughout the process and for at least 48 hours afterwards.
Precision Layout Techniques
Before permanent installation begins, professional tilers always perform a dry layout—arranging tiles without adhesive to visualise the final pattern and make necessary adjustments. This critical step helps identify potential problems, determine the optimal starting point, and plan for challenging areas like corners and edges.
For complicated patterns like herringbone or basketweave, creating a layout diagram on paper first can prevent costly mistakes. Many professionals also recommend starting in the centre of the room and working outward for floor installations, ensuring that cut tiles are positioned along the perimeter where they’re less noticeable. For wall installations, particularly with horizontal patterns, establishing a level reference line is crucial for maintaining straight, even rows.
Cut tiles require special attention. Professional installers use proper cutting tools—wet saws for straight cuts and nippers for curved edges—to ensure clean, precise edges. They also position cut edges strategically, such as tucking them under cabinetry or placing them in less visible corners. This attention to detail significantly enhances the finished appearance.
Technical Installation Considerations
Choosing the right adhesive and application method dramatically affects installation quality. Different tile materials and installation locations require specific adhesive types—cement-based for most applications, epoxy-based for areas with extreme moisture or chemical exposure, and modified thinset for large format tiles. The correct notched trowel size ensures proper adhesive coverage and bond strength.
Consistent spacing between tiles is another hallmark of expert installation. Spacers are essential tools for maintaining uniform grout lines throughout the project. The width of grout lines should be determined based on several factors: tile size (larger tiles typically require wider grout lines), location (floor tiles often need wider grout lines than walls), and desired aesthetic appearance.
Grouting technique significantly impacts both appearance and durability. Professionals mix grout to the correct consistency—typically similar to peanut butter—and apply it diagonally across grout lines to ensure complete filling. After initial application, they clean excess grout from tile surfaces before it hardens, using appropriate tools and techniques for the specific tile material to avoid scratching or damaging the surface.
Finally, proper curing time is non-negotiable for professional installers. Rushing this process by walking on newly installed floor tiles or exposing them to moisture too soon can compromise adhesion and grout integrity. Most installations require at least 24-48 hours before light foot traffic and 72 hours before full use, though these timeframes may vary based on specific materials and environmental conditions.
By following these expert installation best practices, you can ensure your chosen tile pattern not only looks stunning but performs beautifully for years to come. The extra care and attention during installation pay dividends in longevity, appearance, and reduced maintenance requirements over the life of your tiled surface.
Maintenance Tips for Lasting Tiles
Properly installed tile surfaces can last for decades with the right maintenance routine. Different tile materials, patterns, and installation locations each have specific care requirements. Understanding how to maintain your tiled surfaces will preserve their beauty and extend their lifespan, protecting your investment for years to come.
Regular Cleaning Essentials
The foundation of tile maintenance is regular cleaning with appropriate methods. For most ceramic and porcelain tiles, which are valued for their exceptional durability and low porosity (less than 0.5% open porosity), routine cleaning requires nothing more than warm water and a mild, pH-neutral cleaner. Harsh chemicals, particularly acidic cleaners, can damage grout and potentially etch certain tile surfaces.
For daily cleaning, a simple sweep or vacuum with a soft brush attachment removes abrasive dirt and grit that can scratch tile surfaces over time. Weekly damp mopping with the appropriate cleaner will handle most soil without leaving residue. Microfibre mops are particularly effective as they clean thoroughly while using minimal water, which is essential for preventing moisture damage to grout and underlying substrates.
Glazed ceramic tiles typically require the least maintenance, while natural stone tiles like marble, slate, or limestone demand more specific care. Natural stone generally requires specialised pH-neutral cleaners formulated specifically for stone surfaces. Different types of natural stone have varying porosity levels and chemical sensitivities, making it crucial to understand the specific requirements of your particular stone tile.
Grout Maintenance and Protection
Grout lines are typically the most vulnerable part of any tile installation and often the first to show signs of deterioration. The porous nature of most cement-based grouts makes them susceptible to staining, mould growth, and moisture penetration. A proactive approach to grout maintenance can prevent these issues before they become significant problems.
Sealing grout is a critical preventative measure, particularly in wet areas like bathrooms and kitchens. High-quality penetrating sealers create an invisible barrier that repels water, oil, and stains without changing the grout’s appearance. Most professionals recommend reapplying grout sealer annually in high-use areas like kitchen floors and bathroom shower enclosures.
For routine grout cleaning, a soft brush and mild cleaner are typically sufficient. For deeper cleaning, a paste of baking soda and water applied with a grout brush can remove light staining without harsh chemicals. Stubborn grout stains may require specialised grout cleaners, but always test these in an inconspicuous area first, as some can be too aggressive for certain types of grout or adjacent tile materials.
Long-term Protection Strategies
Beyond regular cleaning, several strategic measures can significantly extend the life of your tiled surfaces. In high-traffic areas, placing mats at entrances captures dirt and moisture before they reach tiled floors. For natural stone or porous tiles, applying appropriate sealers creates a protective barrier against stains while preserving the material’s natural appearance.
Furniture pads are essential for preventing scratches on tiled floors, particularly with heavy pieces that might be moved occasionally. For kitchen countertops, using cutting boards and trivets protects tile and grout from potential damage from knife blades, heat, and food stains.
Preventing water damage is particularly important in bathrooms and kitchens. Address leaking taps promptly, as constant moisture can penetrate grout and eventually compromise the bond between tiles and substrate. In shower areas, proper ventilation is crucial for preventing mould and mildew growth in grout lines. A squeegee used after showering can dramatically reduce moisture left on vertical surfaces, extending the life of both tiles and grout.
When damage does occur, prompt repairs prevent larger issues. Replace cracked tiles immediately, as they can allow moisture to penetrate to the substrate. Similarly, address damaged grout lines by regrouting affected areas before moisture can cause more extensive damage. For older installations with widespread grout deterioration, professional grout restoration services can renew appearances without the expense and disruption of complete replacement.
By following these maintenance practices, your carefully selected and installed tile patterns will maintain their beauty and integrity for years to come. The small investment of time in routine care prevents the much larger expense of premature replacement or extensive restoration, ensuring your tiled surfaces remain a lasting feature of your home.
Frequently Asked Questions
What are the most popular tile patterns for modern homes?
Popular tile patterns for modern homes include vertically stacked tiles, offset brick patterns, herringbone, chevron, and geometric designs. These patterns can enhance the aesthetic appeal and create unique focal points in various spaces.
How can I incorporate texture into my tile design?
You can incorporate texture into your tile design by choosing textured tiles, such as handcrafted or 3D sculptural tiles. Mixing finishes, like matte and glossy tiles, also adds depth and visual interest to your surfaces.
What is colour drenching in tile design?
Colour drenching is a design technique that involves using a single colour throughout a space, including tiles. This creates a cohesive and luxurious atmosphere, allowing the tile pattern to stand out without competing colours.
What is the best way to maintain my tiled surfaces?
To maintain tiled surfaces, clean regularly with warm water and a mild cleaner, seal grout lines to prevent staining, and address any damage promptly. Proper cleaning and maintenance can significantly extend the lifespan of your tiles.
Transform Your Space with Stunning Tile Patterns
Feeling overwhelmed by the array of modern tile patterns explored in our recent article? If you find yourself stuck in outdated styles, longing for the bold aesthetics of herringbone or the sleek look of vertically stacked tiles, it’s time to take action! Don’t let indecision keep you from creating the home of your dreams.
.png)
At Hyperion Tiles, we offer a vast collection of innovative tiles that cater to every taste and trend highlighted in the article. Whether you wish to embrace the timeless appeal of a checkerboard or dive into the exciting realm of geometric patterns, our expertly curated selection has something for you.
Why wait? Your dream interior is just a click away. Visit us at Hyperion Tiles and discover how easy it is to find the perfect tiles for your next project. Enhance your home style today—let’s create a space you’ll love!
Share:
What Are Victorian Tiles? A Guide to Their Timeless Charm
How to Style a Patterned Tile in 2025: Expert Guide