
Installing wall tiles can seem daunting, but the outcome is rewarding. Over 70% of homeowners report greater satisfaction with their spaces after a wall tile installation. However, here’s the catch: the aesthetics are often overshadowed by the complexities of the process. With the right planning and approach, you can navigate these challenges effortlessly. By focusing on preparation and choosing the right materials, you’ll transform your walls into a stunning feature that stands the test of time.
Planning Wall Tile Installation
Successful wall tiling begins long before the first tile touches adhesive. Proper planning is the cornerstone of a professional-looking finish that will stand the test of time. Whether you’re refurbishing a tired bathroom or creating a striking kitchen splashback, taking time to prepare will save you countless headaches down the line.
Assessing Your Wall Surface
Before purchasing a single tile, evaluate your wall’s condition thoroughly. Wall surfaces need to be clean, dry, solid, and level before installing tiles on walls. Remove any wallpaper, flaking paint, or loose plaster that could compromise adhesion. For plasterboard walls, check they’re firmly attached to the studs behind and strong enough to support the weight of ceramic tiles.
For uneven surfaces, you’ll need to address these issues first. Small imperfections can be filled with appropriate filler and sanded smooth. For more significant unevenness, you might need to apply a levelling compound or even consider replastering. Tiles highlight rather than hide wall imperfections, so this preparatory step is crucial.
Damp walls present a particular challenge when installing ceramic wall tiles. If you spot signs of moisture issues, identify and fix the underlying cause before proceeding. Installing tiles over damp walls can lead to adhesive failure and mould growth behind the tiles.
Calculating Materials Required
Accurate calculations prevent the twin frustrations of running short or wasting money on excess materials. Measure your wall height and width in metres, multiply these figures to calculate the total area in square metres. Then add 10-15% extra to account for cuts, breakages, and future replacements.
For example, a wall measuring 2.4m high by 3.6m wide has an area of 8.64 square metres. Adding 15% gives you approximately 10 square metres of tiles required. This extra allowance is particularly important when attaching tiles to wall corners or working around fixtures.
Don’t forget to calculate adhesive and grout requirements too. Packaging typically indicates coverage, but as a general rule, expect to need about 3-4kg of adhesive per square metre for wall tiles. Grout requirements depend on tile size and gap width—wider grout lines or larger tiles require more product.
Creating a Tiling Plan
A thoughtful layout plan prevents awkward-looking narrow strips at edges or corners when installing tiles on the wall. Start by determining your tile orientation—horizontal, vertical, or diagonal—and mark a guideline on your wall. For most installations, beginning from the centre of the wall and working outwards creates the most balanced look.
Do a dry run by laying tiles on the floor in the pattern you intend to use on the wall. This helps you visualise the finished result and address potential issues before committing to adhesive. It’s particularly valuable when working with patterned tiles or creating feature designs.
Consider these layout principles when planning:
- Avoid having cut tiles less than half-size at visible edges
- Position full tiles in the most noticeable areas
- Plan cuts so they fall in less conspicuous locations (behind doors, below fixtures)
- For rooms with multiple tiled walls, carefully consider how patterns will meet at corners
Finally, gather all your tools before starting. You’ll need a tile cutter, adhesive spreader, grout float, spacers, spirit level, measuring tape, and clean cloths at minimum. Having everything ready ensures you can work efficiently once you begin the wall tile installation methods you’ve chosen.
Properly planning your wall tile project transforms what could be a challenging DIY task into a manageable and rewarding one. The time invested at this stage pays dividends in both the quality of the finish and your experience throughout the installation process.
Key Takeaways
| Takeaway | Explanation |
|---|---|
| Proper Wall Preparation is Crucial | Ensure walls are clean, dry, and level before tiling. Address any dampness or imperfections to achieve a durable finish. |
| Accurate Material Calculations Save Time and Money | Measure wall dimensions carefully and account for extra tiles by adding 10-15% to total area calculations for cuts and breakages. |
| Develop a Tiling Plan for Balanced Layout | Start tiling from the centre with guidelines to prevent awkward cuts; plan for visible full tiles and strategic placements around fixtures. |
| Select Appropriate Adhesives and Grouts | Choose adhesives based on the tile type and installation environment; ensure grout matches tile size and desired aesthetic for lasting results. |
| Routine Maintenance Extends Tile Lifespan | Clean tiles regularly according to type and inspect grout for damage; apply sealers as needed to protect surfaces from stains and moisture. |
Selecting Wall Tile Materials and Tools
Choosing the right materials and tools is crucial when installing tiles on walls. The selections you make at this stage directly impact both the installation process and the longevity of your finished project. Let’s explore the essential considerations for making informed choices before you begin attaching tiles to wall surfaces.
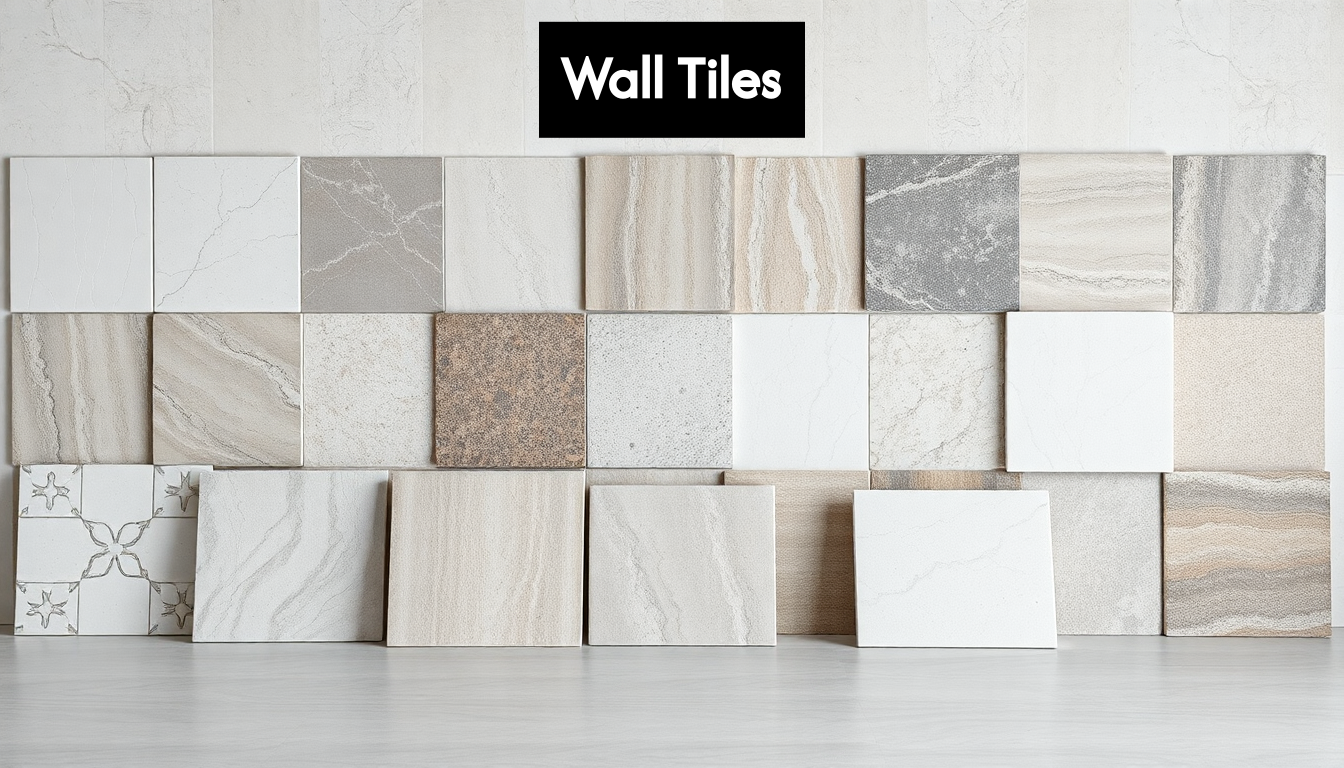
Types of Wall Tiles
The market offers a vast array of wall tiles, each with distinct characteristics suited to different applications:
-
Ceramic Tiles: Lightweight and relatively easy to cut, ceramic tiles are ideal for most indoor wall applications. They’re available in countless designs and are typically more affordable than porcelain. Their porosity makes them less suitable for areas with extreme moisture.
-
Porcelain Tiles: These dense, hard-wearing tiles are excellent for high-moisture environments like shower walls. When installing ceramic wall tiles or porcelain varieties, remember that porcelain tiles require more specialised cutting tools due to their hardness. Though more expensive than ceramic, their durability often justifies the cost.
-
Glass Tiles: Offering a sleek, reflective surface that can visually expand smaller spaces, glass tiles work beautifully as accents or feature walls. They can be trickier to cut and install, often requiring specific adhesives.
-
Natural Stone Tiles: Materials like marble, travertine, and slate bring unique natural patterns and textures to your walls. When putting tiles on walls made of natural stone, consider that they typically require sealing and more maintenance than manufactured tiles.
-
Mosaic Tiles: Usually mounted on mesh backing, mosaics are ideal for curved surfaces or creating decorative patterns. They simplify installation while allowing for artistic expression.
The architectural and interior design community recognises that tile selection goes beyond mere functionality. Research indicates that tiles can serve as integral architectural features rather than simply decorative objects, bridging traditional craft with contemporary design sensibilities.
!
Essential Adhesives and Grouts
Selecting the appropriate adhesive is crucial when learning how to install tiles on the wall:
-
Ready-mixed Adhesive: Convenient for beginners and smaller projects, these paste-like adhesives come ready to use. They’re ideal for ceramic wall tiles in dry areas but may not be suitable for porcelain or high-moisture environments.
-
Powdered Adhesive: Requiring mixing with water, these typically offer stronger bonding and better water resistance. For installing tiles on walls in bathrooms or kitchens, these adhesives generally perform better over time.
-
Rapid-set Adhesive: Perfect when time is of the essence, allowing for grouting much sooner than standard adhesives.
For grout selection, consider:
-
Sanded vs. Unsanded: Unsanded grout works best for narrow joints (under 3mm) common in wall installations, while sanded varieties suit wider joints.
-
Epoxy Grout: Though more expensive and challenging to work with, epoxy grout offers superior water resistance and durability for wet areas.
-
Colour Choice: The grout colour can dramatically alter your wall’s appearance—matching grout creates a seamless look, while contrasting grout highlights the tile pattern.
Necessary Tools for Wall Tiling
Having the right tools ready before you begin placing tile on wall surfaces prevents interruptions and ensures precision:
Essential Tools:
- Tile cutter (manual or electric depending on tile hardness)
- Notched trowel (size matched to your tile dimensions)
- Grout float and finishing sponge
- Tile spacers (for consistent grout lines)
- Spirit level and measuring tape
- Bucket and mixing paddle (for powdered adhesives)
- Tile nippers (for cutting around obstacles)
Safety Equipment:
- Safety goggles and gloves
- Dust mask (especially when cutting tiles)
- Knee pads (for when you’re working on lower sections)
Specialised Tools for Specific Situations:
- Diamond hole cutter (for creating holes for pipes)
- Tile file (for smoothing cut edges)
- Electric mixer (for larger batches of adhesive)
When preparing to install ceramic wall tiles or any other variety, remember that quality tools make precision work possible. While professional tilers invest in specialised equipment, DIYers can achieve excellent results with basic but good-quality tools, many of which can be hired for one-off projects.
Taking time to select appropriate materials and tools before you begin the process of installing tile on walls ensures you’ll have everything needed to complete the project efficiently and to a high standard. These initial decisions establish the foundation for a successful tiling project that will enhance your space for years to come.
Step-by-Step Wall Tile Installation
Installing tiles on walls transforms spaces with both beauty and functionality when done correctly. By following a methodical approach, even DIY enthusiasts can achieve professional-looking results. This comprehensive guide breaks down the process of how to install tiles on the wall into manageable steps.
Preparing the Wall Surface
Before attaching tiles to wall surfaces, proper preparation is essential. Start by ensuring your wall is clean, dry, and free from dust, grease, or loose material. Any wallpaper should be completely removed and painted surfaces should be lightly sanded to improve adhesion.
For plasterboard walls, check they’re firmly fixed to the studs behind. Newly plastered walls need to be fully dried (typically at least 4 weeks) before tiling commences. Uneven surfaces require levelling with appropriate compounds—remember that tiles will amplify, not disguise, surface irregularities.
If you’re tiling onto particularly smooth surfaces like painted walls, consider scoring the surface lightly or applying a primer specifically designed for tile adhesion. This creates microscopic texture that helps the adhesive bond more effectively when installing ceramic wall tiles or other varieties.
Setting Up Your Starting Point
According to tiling experts, finding the optimal starting position is crucial for a professional finish. Begin by locating the centre of your wall and marking a vertical line using a spirit level. This centreline helps ensure your tile layout is balanced, minimising awkward cuts at the edges.
A horizontal starting line is equally important when learning how to put tiles on walls. For most wall installations where you’re not starting from the floor, a wooden batten provides crucial support for your first row of tiles. Securely fix this batten to the wall, ensuring it’s perfectly level—even a slight deviation will be magnified across the entire tiled area.
This support batten should be positioned to allow full tiles in the most visible areas of the wall. Use your earlier planning measurements to determine the optimal height. Remember that the batten will be removed after the adhesive has set, so ensure it’s firmly attached but removable without damaging your new tiles.
Applying Adhesive and Setting Tiles
Mixing adhesive to the correct consistency is vital when installing tile on walls. Follow the manufacturer’s instructions precisely—too wet and the tiles may slip; too dry and bonding will be compromised. Work in manageable sections of approximately one square metre at a time to prevent the adhesive from skinning over before you can place tiles.
Apply the adhesive to the wall using a notched trowel, creating consistent ridges in the adhesive bed. Hold the trowel at a 45-degree angle and work in one direction to ensure even coverage and proper adhesive depth. This uniform adhesive layer is essential for successfully putting tiles on walls without issues later.
When setting the first tile, press it firmly into the adhesive with a slight twisting motion to ensure good contact and eliminate air pockets. Place tile spacers at each corner to maintain consistent joint widths. Continue placing tiles in your planned pattern, regularly checking alignment with a spirit level both horizontally and vertically.
Cutting and Fitting Edge Tiles
Most tiling projects require cuts for edges, corners, and obstacles like electrical outlets. For straight cuts when installing tiles on the wall, mark your cutting line clearly on the tile face, then use a manual tile cutter for ceramic tiles or a wet saw for porcelain and natural stone.
For more complex cuts around obstacles:
- Use a tile scribe to mark curved cutting lines
- Drill holes at the corners of square cutouts using a ceramic drill bit
- Make multiple straight cuts to approximate curves, then smooth edges with a tile file
- For very intricate cuts, consider using tile nippers to gradually remove small pieces
After cutting, smooth any sharp edges with a tile file before placing the tile. When installing ceramic wall tiles around obstacles, always ensure cuts allow for expansion—tight fits against fixtures can lead to cracked tiles as the wall naturally expands and contracts.
Removing Spacers and Cleaning
Once all tiles are in place and before the adhesive fully cures (typically 24 hours), carefully remove the tile spacers. Check the manufacturer’s instructions for the specific curing time of your adhesive—working too early risks disturbing the tiles, but waiting too long makes spacer removal difficult.
Use a damp sponge to gently clean excess adhesive from the tile faces before it hardens. Pay special attention to the grout lines, ensuring they’re clear of adhesive and maintain consistent depth for the grouting phase. This cleaning step is crucial for achieving a professional finish when attaching tiles to wall surfaces.
Remove the supporting batten once the adhesive has partially set but before it’s fully cured. Fill the gap where the batten was with cut tiles, following the same installation method. This completes the wall tile installation methods for setting the tiles, preparing you for the final grouting process that will bring your project to completion.
Finishing Touches and Maintenance Tips
The final stages of installing tiles on walls can make the difference between an adequate job and a truly professional finish. Once your tiles are securely attached to the wall, these crucial finishing steps will complete your project beautifully while ensuring longevity through proper maintenance.
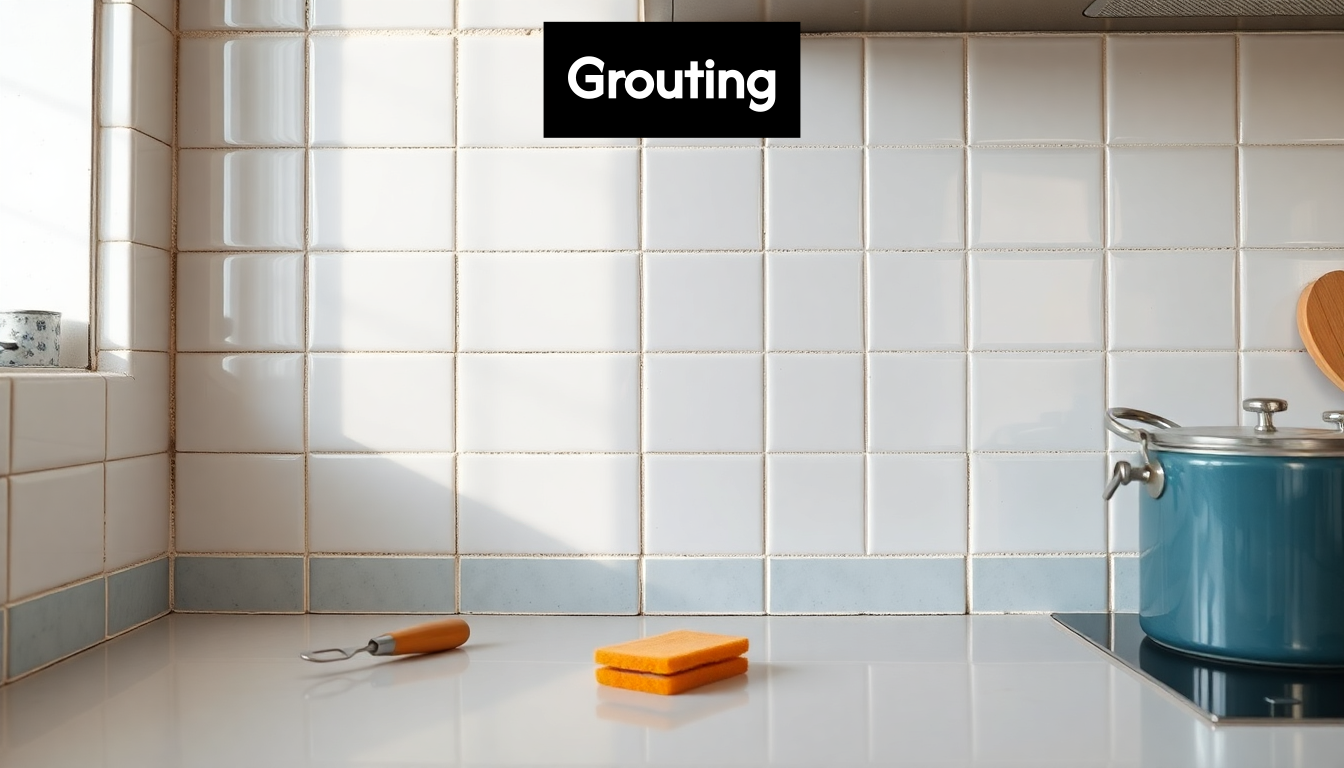
Grouting for a Professional Finish
Grouting is more than just filling gaps—it’s an aesthetic choice that can dramatically affect your wall’s appearance. Wait at least 24 hours after placing your tiles before grouting to ensure the adhesive has fully cured. This patience pays dividends in the quality of your finished project.
Prepare your grout according to the manufacturer’s instructions, aiming for a smooth, toothpaste-like consistency. For wall tile installation, unsanded grout typically works best as it’s easier to apply in the narrower joints common with wall tiles. Using a rubber grout float, apply the grout diagonally across the tiles, pressing firmly into the joints to ensure complete filling without air pockets.
Work in manageable sections of about one square metre at a time. After applying grout to a section, wait approximately 15-20 minutes until the grout begins to haze over before cleaning. Use a damp (not wet) sponge, rinsing it frequently and wringing it well. Wipe diagonally across the tiles with light pressure to avoid pulling grout from the joints. Focus on removing excess grout while maintaining full, even joints.
Once the entire wall is grouted and initially cleaned, allow it to dry for about an hour, then polish with a soft, dry cloth to remove any remaining haze and bring out the lustre of your tiles. This final buffing is often overlooked but is essential for a truly professional appearance when installing ceramic wall tiles.
!
Sealing and Finishing Details
Depending on your tile and grout choices, sealing may be necessary to protect your newly installed wall tiles. Ceramic and porcelain tiles rarely need sealing, but natural stone tiles and most grout types benefit from appropriate sealers:
-
For natural stone tiles: Apply a penetrating sealer before grouting to prevent grout from staining the porous stone, then apply a final coat after grouting is complete.
-
For grout: Unless you’ve used epoxy grout, apply a quality grout sealer after the grout has fully cured (typically 72 hours) to improve stain resistance and longevity.
Pay attention to transition points and edges. Exposed tile edges can be finished with purpose-made trim pieces, decorative listello borders, or metal edging profiles. These finishing touches not only look professional but also protect vulnerable tile edges from chipping.
For internal corners where walls meet, consider using a flexible silicone sealant instead of grout. This accommodates slight structural movements that might otherwise crack rigid grout. When applying silicone, use masking tape on either side of the joint for clean, precise lines, and smooth the bead with a damp finger dipped in soapy water for a perfect finish.
Routine Maintenance for Longevity
Proper maintenance ensures your wall tiles remain beautiful for years after installation. Develop a regular cleaning routine based on the specific needs of your tile type:
-
Ceramic and porcelain tiles: Wipe down regularly with warm water and a mild detergent. Avoid harsh abrasives or acidic cleaners that can damage grout over time.
-
Glass tiles: Clean with non-abrasive glass cleaners to maintain their reflective properties without scratching.
-
Natural stone tiles: Use only pH-neutral cleaners specifically formulated for natural stone. Acidic substances (including vinegar) can etch and permanently damage stone surfaces.
Inspect grout lines periodically for signs of staining or cracking. Address small issues promptly—reapply grout sealer annually in wet areas like showers, and touch up damaged grout before moisture can penetrate behind tiles. Small maintenance efforts prevent costly repairs and keep your tiled walls looking fresh.
Addressing Common Issues Over Time
Even with perfect wall tile installation methods, some issues may develop over time. Being prepared to address these quickly can preserve the integrity of your tiled surface:
If tiles become loose, don’t delay repairs. Remove the affected tile carefully, clean off old adhesive, and reinstall with fresh adhesive. For cracked grout, remove the damaged section completely before applying new grout to ensure proper adhesion.
Grout discolouration is common in damp environments. If cleaning doesn’t restore the colour, consider applying a grout colorant or stain that both colours and seals in one application. For persistent mould issues in grout, a diluted bleach solution can help, though prevention through proper ventilation and regular cleaning is preferable.
By attending to these finishing touches and maintenance requirements, your wall tiling project will remain a beautiful feature in your home for many years. The care you take during these final stages protects your investment of time, effort, and materials, ensuring your newly tiled walls continue to enhance your space.
Frequently Asked Questions
How do I prepare my wall before tiling?
Proper wall preparation includes ensuring the surface is clean, dry, solid, and level. Remove any wallpaper or flaking paint, and address imperfections or dampness before installation.
What materials do I need for wall tile installation?
Essential materials include wall tiles (ceramic, porcelain, glass, or natural stone), adhesive, grout, and tools like a tile cutter, notched trowel, grout float, and spacers.
How do I calculate the amount of tiles and adhesive I need?
Measure the height and width of your wall in metres, multiply these figures to find the area, and then add 10-15% extra for cuts and breakages. For adhesive, expect to need about 3-4kg per square metre of wall.
What is the best way to grout wall tiles?
Wait at least 24 hours after tiling before grouting. Use a rubber grout float to apply unsanded grout diagonally across the tiles, ensuring it fills the joints fully before cleaning with a damp sponge.
Transform Your Space with Beautiful Wall Tiles from Hyperion Tiles
Is your wall tile project feeling overwhelming? Remember, proper wall preparation and material selection are the key ingredients for a stunning results. With over 70% of homeowners reporting increased satisfaction after their wall tile installation, don’t let the challenges hold you back!
!.png)
At Hyperion Tiles, we’ve got you covered! Explore our extensive range of ceramic, porcelain, and natural stone tiles designed for every application. Ready to tackle those tricky corners and edges? Our selection of cutting tools and adhesives will simplify the installation process, making it a breeze. Don’t wait to elevate your home’s aesthetic—visit us today and discover how our expert guidance can transform your tiling dreams into reality. Start shopping now to find the perfect tiles for your project!
Share:
Porcelain vs Ceramic Tiles: Choosing the Best Option
Understanding Tile Durability: A Simple Expert Guide