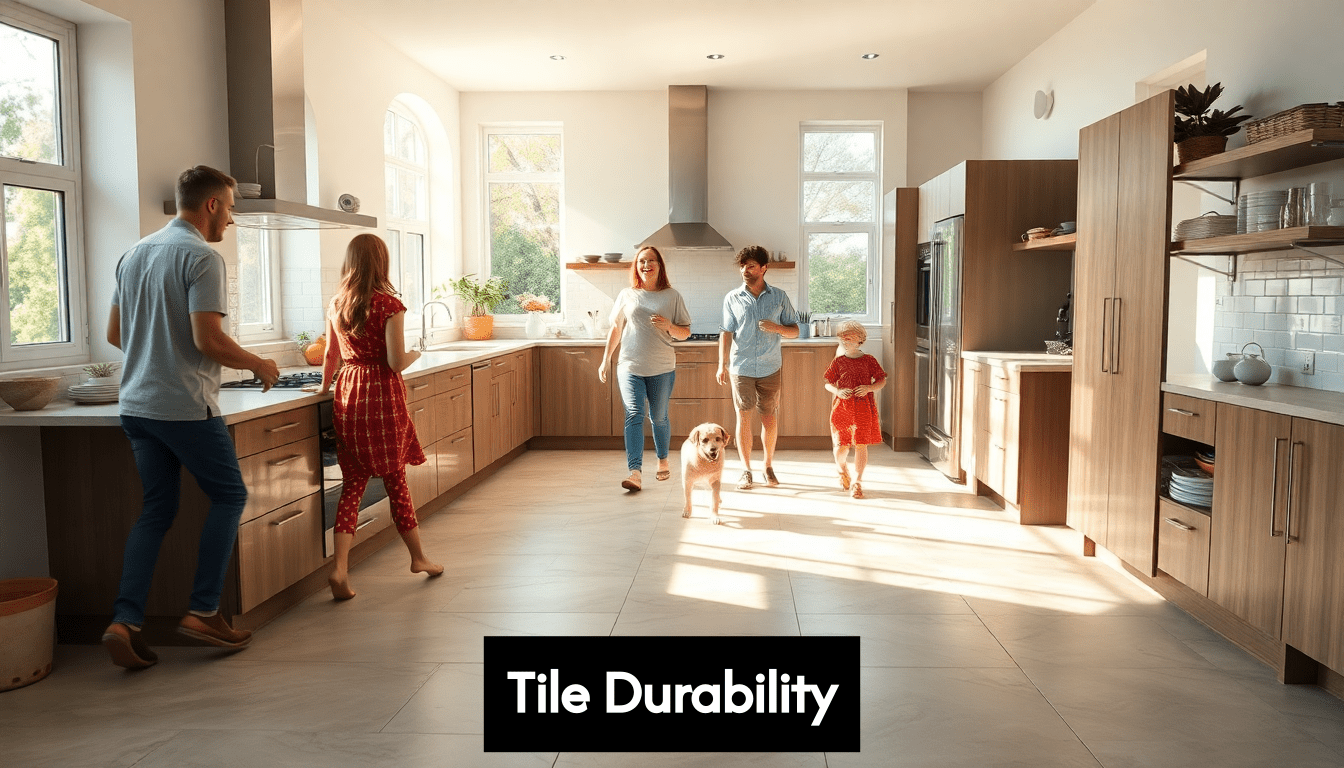

Tile durability plays a crucial role in the longevity and performance of your home or commercial space. Many people assume that all tiles are equally tough, but that’s far from the truth. In fact, tiles with a PEI rating of 4 or 5 are specifically designed to withstand heavy traffic and wear. When you neglect to choose the right tile, you risk costly repairs and replacements. Understanding the science behind tile durability can save you time, money, and frustration, ensuring you make the right choice for your needs.
Table of Contents
- Tile Durability Key Ratings
- Material Composition And Strength
- Installation And Usage Tips
- Maintaining Your Tiles For Longevity
Quick Summary
| Takeaway | Explanation |
|---|---|
| Choose the Right PEI Rating | Select tiles with PEI ratings of 4 or 5 for high-traffic areas to ensure durability against wear and tear. |
| Understand Water Absorption | Opt for impervious tiles in moist environments to prevent damage and staining, enhancing the longevity of your installation. |
| Proper Substrate Preparation | Ensure the substrate is clean, level, and adequately cured to prevent issues like cracking or lippage in your tile installation. |
| Regular Maintenance is Key | Implement a consistent cleaning routine and seal porous tiles regularly to protect from stains and moisture infiltration. |
| Address Grout Maintenance | Regularly clean, seal, and repair grout lines to prevent moisture from damaging the underlying tile installation. |
Tile Durability: Key Ratings
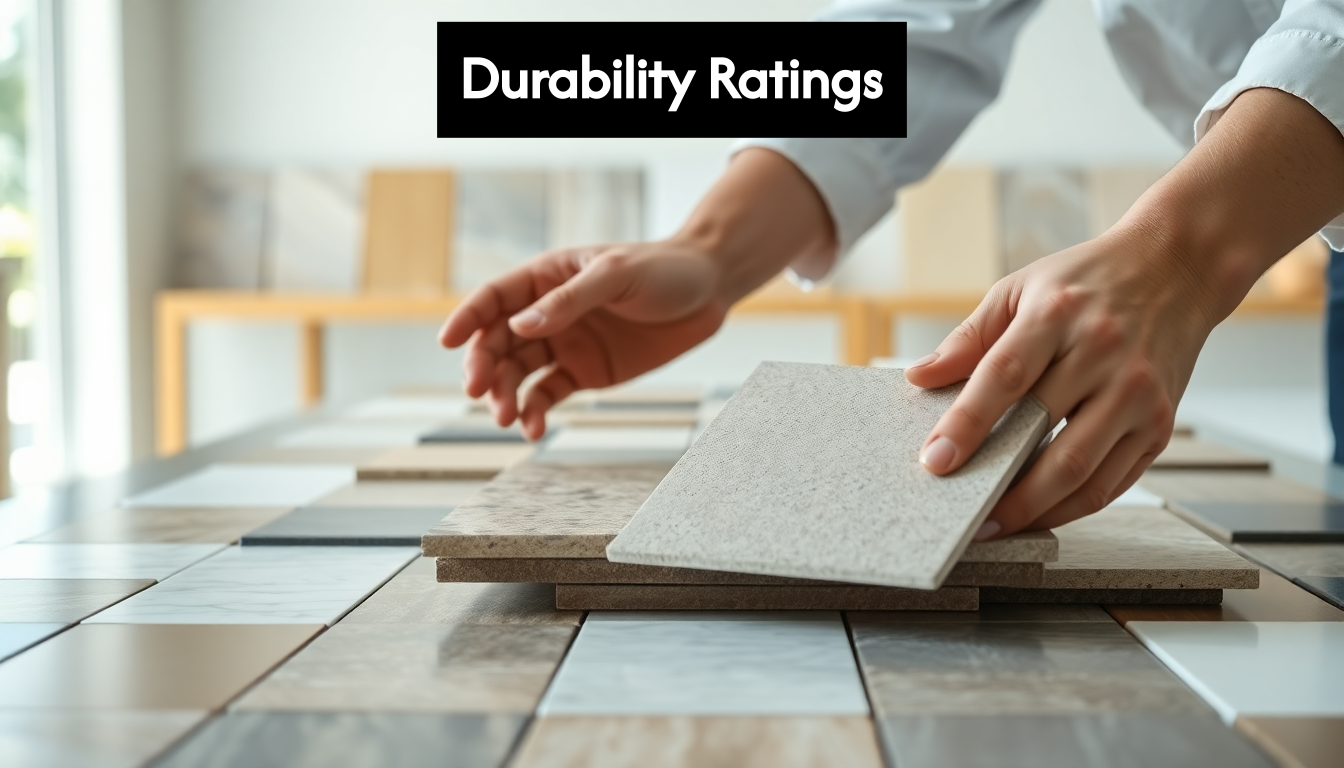 Determining tile durability isn’t just about choosing what looks good—it’s about selecting materials that will withstand your specific environment and usage patterns. Understanding the standardised ratings systems is crucial for making informed decisions that will serve you well for years to come.
The PEI Rating System
The Porcelain Enamel Institute (PEI) rating is the primary standard for evaluating tile durability. This system classifies tiles from Class 1 through Class 5, with each level indicating suitability for different traffic intensities and environments.
According to Hyperion Tiles, the PEI scale breaks down as follows:
- Class 1: Suitable for walls and areas with no foot traffic
- Class 2: Appropriate for light traffic areas like bathrooms and bedrooms
- Class 3: Designed for moderate traffic in most residential spaces
- Class 4: Engineered for heavy residential and medium commercial use
- Class 5: Built to withstand heavy commercial and public spaces such as airports and shopping centres
For British homeowners, selecting the right PEI rating means considering how the space will be used. A family kitchen with children and pets requires Class 4 tiles at minimum, while a rarely-used guest bathroom might only need Class 2.
Water Absorption Ratings
Water absorption directly affects how your tiles will perform over time, especially in moisture-prone areas. Tiles are categorised based on their porosity:
Non-vitreous tiles (absorption rate >7%): These highly porous tiles are best kept away from wet areas as they readily absorb water, making them vulnerable to damage and staining.
Semi-vitreous tiles (absorption rate 3-7%): With moderate water resistance, these can work in some indoor applications but aren’t ideal for bathrooms or kitchens.
Vitreous tiles (absorption rate 0.5-3%): These offer good water resistance and versatility for most indoor applications.
Impervious tiles (absorption rate <0.5%): These provide maximum water resistance and are excellent for wet areas, outdoor installations, and freeze-thaw environments.
The lower the absorption rate, the more durable your tile will be in challenging environments. Porcelain tiles typically fall into the impervious category, making them exceptionally durable for British homes where damp conditions are common.
Breaking Strength and Thickness
Breaking strength measures a tile’s ability to withstand pressure before cracking—a critical factor for flooring applications. This rating is particularly important for areas that will bear heavy furniture or equipment.
The British and European standards use the modulus of rupture (MOR) measurement, expressed in N/mm². For flooring applications, tiles should have a minimum breaking strength of 1300N for residential uses and higher for commercial applications.
Tile thickness also plays a role—thicker tiles generally offer greater breaking strength. Standard floor tiles range from 8mm to 12mm, while speciality tiles for commercial applications may exceed 20mm.
Coefficient of Friction (COF)
This rating indicates how slip-resistant a tile is—a crucial safety consideration, especially for wet areas. In the UK, the pendulum test is commonly used to determine slip resistance, resulting in a Pendulum Test Value (PTV):
- High slip potential: PTV 0-24
- Moderate slip potential: PTV 25-35
- Low slip potential: PTV 36+
For bathrooms, kitchens, and exterior applications, experts recommend tiles with higher PTVs to prevent accidents, particularly in a climate where rain and dampness are frequent concerns.
Making the Right Selection
For high-traffic residential and commercial areas in the UK, experts recommend selecting tiles with a PEI rating of 4 or 5, as these are engineered to withstand heavy usage and resist premature wear. As industry specialists note, combining these ratings with appropriate water absorption rates and breaking strength metrics provides a comprehensive approach to determining tile durability.
When evaluating tiles for your project, ask suppliers for documentation of these ratings rather than relying solely on verbal assurances. The right combination of durability factors ensures you won’t face the expense and inconvenience of premature replacement.
Material Composition and Strength
When determining tile durability, understanding the fundamental material composition is essential. The raw materials and manufacturing process directly influence how a tile will perform in various environments and under different conditions.
Ceramic vs. Porcelain: The Basic Distinction
The two most common tile materials—ceramic and porcelain—differ significantly in composition, which affects their durability profiles.
Ceramic tiles are typically made from red or white clay mixtures, fired at temperatures between 1000°C and 1200°C. This results in a relatively porous body with moderate strength characteristics. While perfectly suitable for many applications, ceramic tiles generally offer less durability than their porcelain counterparts.
Porcelain tiles, by contrast, are manufactured from refined clay combined with feldspar and other minerals, fired at much higher temperatures (1200°C to 1400°C). This intense firing process creates a denser, less porous material with superior strength properties. The result is a tile that’s remarkably resistant to water, stains, scratches, and impact.
Density and Hardness: Key Indicators
The density of a tile—measured in grams per cubic centimetre—directly correlates with its durability. Higher-density tiles contain fewer air pockets and voids, making them less susceptible to cracks and breakage. Porcelain tiles typically have a density of 2.0-2.4 g/cm³, while standard ceramics range from 1.8-2.0 g/cm³.
Hardness, measured on the Mohs scale from 1 (softest) to 10 (hardest), indicates a tile’s resistance to scratching and surface wear. Most ceramic tiles fall between 4-6 on this scale, while porcelain typically rates 7-8—approaching the hardness of granite (8-9). For reference, a steel knife blade rates about 5.5, meaning it can scratch most ceramic tiles but not porcelain.
According to the NHBC Standards 2025, ceramic wall tiling must provide a surface adequate for its location and intended use, with specific requirements for both appearance and durability to ensure long-term performance. This underscores the importance of matching material characteristics to the application environment.
Composition Additives for Enhanced Performance
Modern manufacturing techniques allow for the inclusion of various additives that can dramatically improve tile performance characteristics:
Alumina: Increases hardness and wear resistance, particularly beneficial in high-traffic areas.
Silica: Improves thermal shock resistance, making tiles less likely to crack when exposed to temperature fluctuations.
Colorants and Opacifiers: Beyond aesthetics, certain metal oxide additives can enhance tile strength by promoting more uniform firing and reducing internal stresses.
Polymers: Some manufacturers incorporate polymers into the clay body or surface treatments to improve flexibility and impact resistance.
For residential applications, experts note that durability requirements must be considered based on intended usage areas, with high-traffic zones such as hallways or kitchens needing materials with superior hardness and wear resistance compared to low-traffic spaces.
Engineering for Strength: Internal Structure
The internal microstructure of a tile significantly affects its strength properties. During firing, the mineral components undergo vitrification—a process where they melt and reform into a glass-like structure. The degree of vitrification directly impacts strength:
Limited Vitrification: Found in decorative wall tiles where strength is less critical
Partial Vitrification: Common in standard floor ceramics, offering moderate strength
Complete Vitrification: Characteristic of porcelain and technical tiles, providing maximum strength
Manufacturers can also engineer strength through reinforcement techniques. Some high-performance tiles incorporate mesh backing or fiberglass reinforcement to improve flexural strength and impact resistance. Others use pressed construction methods that align the clay particles in ways that maximize strength along critical stress vectors.
Compression and Tension Resistance
Tiles excel at handling compression forces (pushing down) but are relatively weak against tension (pulling apart). This affects how they perform when installed:
- A properly supported tile can withstand tremendous downward pressure
- The same tile might crack easily if the substrate flexes or shifts
- Edge impacts often cause failure because they create tension on the opposite side
Understanding these principles helps in selecting appropriate installation methods and backing materials to complement the inherent strength characteristics of different tile compositions. Proper substrate preparation and appropriate setting materials are just as important as the tile’s intrinsic material properties in determining overall durability in real-world applications.
Installation and Usage Tips
Determining tile durability goes beyond selecting the right material—proper installation and maintenance play crucial roles in ensuring your tiles perform as expected throughout their lifespan. Even the most durable tiles can fail prematurely when installed incorrectly or subjected to inappropriate conditions.
Substrate Preparation: The Hidden Foundation
The surface beneath your tiles forms the literal foundation for durability. A properly prepared substrate prevents numerous problems that can compromise even the most robust tiles.
Start by ensuring the substrate is clean, level, and free of cracks or defects. Any imperfections in the underlying surface will eventually telegraph through to your tiles, potentially causing cracking or lippage (uneven tile edges). For concrete substrates, allow adequate curing time—typically 28 days minimum—before tile installation begins.
Moisture issues require special attention, particularly in British homes where damp can be persistent. According to Hyperion Tiles, proper substrate preparation and correct adhesive application are essential for tile durability, as even highly durable tiles can fail prematurely if installation is substandard.
For floor installations, consider using an uncoupling membrane between the substrate and tiles. This thin layer allows for differential movement between the substrate and tile, preventing cracks from transferring through to your finished surface—particularly important in homes with timber subfloors or new concrete that may continue to settle.
Waterproofing Critical Areas
Waterproofing beneath tiles is essential in wet areas like bathrooms and kitchens. Water that penetrates through grout lines can cause serious damage to the substrate, eventually compromising the entire installation.
New regulations have raised the bar for waterproofing requirements. As Tile and Stone Journal reports, NHBC regulations effective January 2025 require all tiled wet areas in new UK homes to be waterproofed with an EAD certified system for compliance and warranty coverage. This is especially critical for showers exceeding 12 litres per minute or tiled wetrooms.
For DIY renovators, this means applying a liquid waterproofing membrane or installing waterproofing sheets before tiling begins. Pay particular attention to corners, joints, and penetrations where pipes come through the wall or floor.
Adhesive Selection and Application
The right adhesive creates the bond that keeps tiles firmly attached to the substrate. Different situations call for different products:
Standard thinset mortar works well for most wall and floor applications in dry areas.
Flexible adhesives contain polymers that allow for slight movement, making them ideal for areas subject to thermal expansion or where slight substrate movement is expected.
Epoxy adhesives provide exceptional strength and water resistance for wet areas or commercial applications.
When applying adhesive, use the correct notched trowel to achieve proper coverage. The industry standard calls for a minimum of 80% adhesive coverage for dry areas and 95% for wet areas or heavy traffic zones. Achieve this by pressing tiles firmly into freshly applied adhesive and occasionally lifting a tile during installation to verify coverage.
Expansion Joints: Room to Move
All building materials expand and contract with temperature and humidity changes. Failing to accommodate this movement is a common cause of tile failure. Professional installers enhance longevity by using expansion joints to accommodate building movement.
Incorporate expansion joints:
- Where tiles meet walls or other vertical surfaces
- At transitions between different substrates
- Every 4.5 to 6 metres in large installations
- Over existing structural joints in the building
Fill these joints with a flexible sealant rather than rigid grout to allow for movement without cracking.
Grout Selection and Application
Grout isn’t just decorative—it provides lateral support to tiles and helps prevent edge chipping. Consider these options:
Sanded grout offers better durability for floor applications and wider joints (over 3mm).
Unsanded grout works best for wall tiles and narrower joints where sand particles might scratch delicate surfaces.
Epoxy grout provides superior stain and water resistance for wet areas and food preparation zones.
For optimal durability, maintain consistent grout depth and width. Apply grout with a rubber float held at a 45-degree angle, pressing firmly to ensure joints are completely filled. After initial set (when the grout appears dull), clean excess material with a damp sponge using diagonal strokes to avoid pulling grout from the joints.
Daily Use and Maintenance
Even the most durable tile installation requires proper care to maintain its integrity:
- Use protective felt pads under furniture legs to prevent scratching and impact damage
- Sweep or vacuum regularly to remove abrasive grit that can scratch tile surfaces
- Clean spills promptly, especially acidic substances that can etch natural stone or damage grout
- Apply penetrating sealers to porous tiles and grout lines according to manufacturer recommendations
By combining quality materials with proper installation techniques and sensible maintenance, you can maximize the durability of your tile installation, ensuring it remains beautiful and functional for decades rather than years.
Maintaining Your Tiles for Longevity
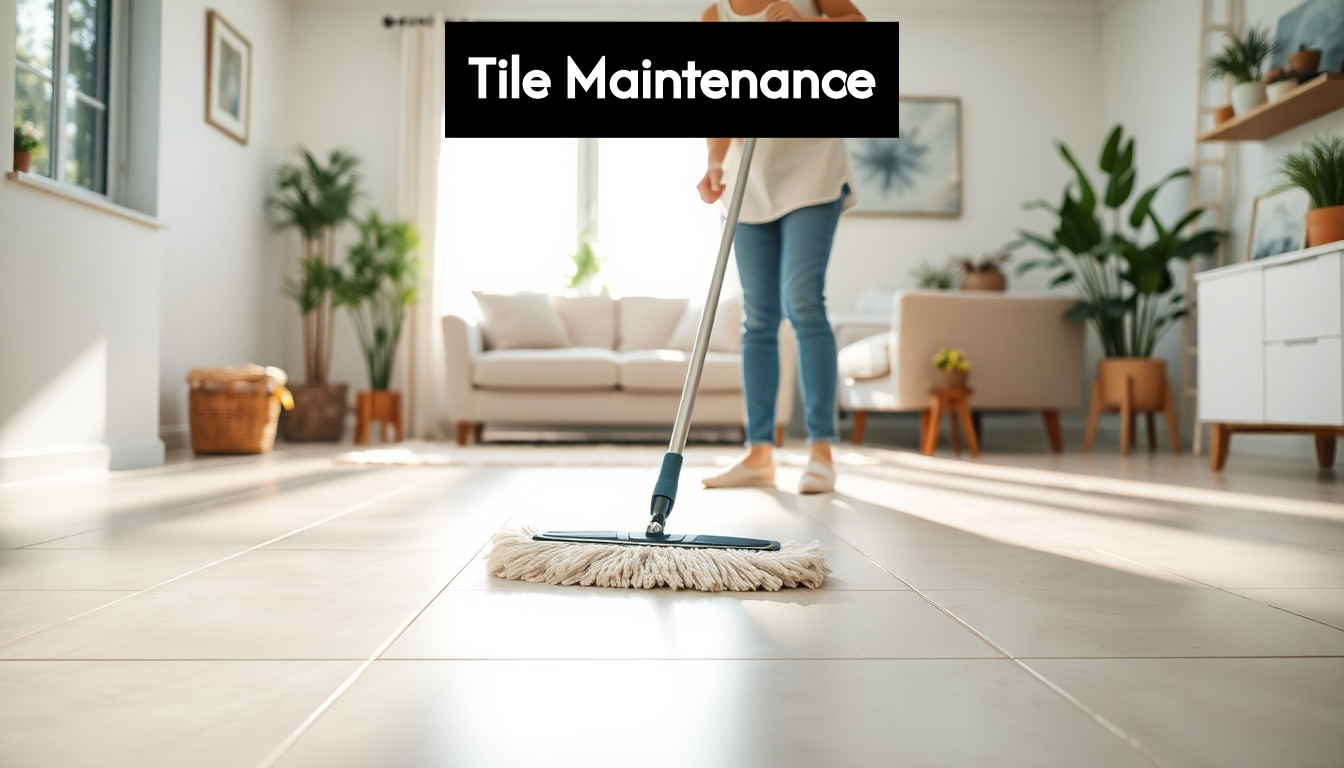 Determining tile durability doesn’t end with selection and installation—proper maintenance is equally vital for ensuring your tiles reach their maximum potential lifespan. Even the most resilient materials require appropriate care to maintain their strength, appearance, and functionality over time.
Regular Cleaning Routines
Establishing a consistent cleaning regimen is the foundation of tile maintenance. According to Expert Market Research, porcelain and ceramic tiles are highly favoured in the UK for their durability and low maintenance requirements, with their resistance to wear, moisture, and impact making regular cleaning and proper upkeep essential for prolonged lifespan.
For daily maintenance:
Dry cleaning: Sweep or vacuum loose debris at least every other day in high-traffic areas. This prevents abrasive particles from scratching the tile surface when walked upon. Use soft-bristle brooms or vacuum attachments without beater bars that could damage grout or tile edges.
Damp mopping: Once or twice weekly, clean with plain warm water or a pH-neutral cleaner specifically formulated for your tile type. Avoid saturating the floor—excess water can penetrate grout lines and compromise adhesives over time.
Spot cleaning: Address spills immediately to prevent staining, especially with acidic substances like wine, coffee, or fruit juices that can etch natural stone or penetrate unsealed grout.
Choosing Appropriate Cleaning Products
Using the wrong cleaning agents is one of the most common ways homeowners inadvertently damage their tiles. Different tile materials require specific approaches:
Ceramic and porcelain: These robust materials tolerate most pH-neutral cleaners. Avoid oil-based products that can leave residues and create slip hazards.
Natural stone: Materials like marble, limestone, and travertine are vulnerable to acidic cleaners. Even mild acids like vinegar or lemon juice can etch these surfaces. Use only cleaners specifically formulated for natural stone.
Terracotta and encaustic tiles: These more porous options benefit from specialised cleaners that won’t strip protective sealants.
Regardless of tile type, market research indicates that timely cleaning and use of appropriate cleaning agents is vital for maintaining tile strength and longevity, especially in high-traffic residential areas like kitchens and bathrooms.
Sealing: Protection from Within
Many tile materials—particularly natural stone, terracotta, and cement tiles—require periodic sealing to maintain their resistance to staining and moisture infiltration. Even some grout types benefit from regular sealer application.
The frequency of sealing depends on several factors:
- Traffic levels (busier areas need more frequent sealing)
- Exposure to water or staining agents
- The porosity of the specific material
- The quality of the sealer previously applied
A simple water test can determine if sealing is needed: Place a few drops of water on the tile surface. If the water beads up, your sealer is still effective. If the water darkens or absorbs into the tile within a few minutes, it’s time to reseal.
When applying sealers, follow manufacturer instructions precisely. Over-application doesn’t provide additional protection and can leave a hazy residue that attracts dirt.
Preventing Physical Damage
Beyond cleaning and sealing, protecting tiles from physical damage is essential for longevity:
Furniture protection: Apply felt pads under furniture legs to prevent scratching when items are moved. For heavy furniture, use wide, flat glides that distribute weight evenly.
Entrance mats: Place weather-resistant mats outside entrances and absorbent mats inside to trap grit, moisture, and debris before they reach your tile floors. These should be cleaned regularly to maintain effectiveness.
Rugs in high-impact areas: Consider using area rugs in zones where items are frequently dropped, such as in front of kitchen sinks or work areas.
Proper footwear policy: Discourage wearing cleated sports shoes, high heels with worn tips, or shoes with embedded stones on tile floors.
Addressing Grout Issues
Grout often deteriorates before the tiles themselves, compromising the entire installation if not maintained:
- Clean grout lines using a soft brush and appropriate cleaner, working in small sections
- Address stained grout with a paste of baking soda and water for light stains, or oxygen bleach for tougher discolouration
- Repair cracked or missing grout promptly to prevent moisture infiltration beneath tiles
- Consider applying grout sealer annually in wet areas like showers and bath surrounds
Professional Maintenance
While regular homeowner maintenance handles most needs, periodic professional attention can extend tile life significantly. Every 2-3 years, consider:
- Professional deep cleaning that removes embedded soil regular cleaning misses
- Grout restoration including professional recolouring or sealing
- Addressing any loose tiles before they become major problems
Industry analysts recommend providing consumers with educational resources on installation and maintenance techniques, as noted by Mark Wide Research, to maximize tile longevity and strengthen market reputation.
By implementing these maintenance practices consistently, you’ll protect your investment in quality tiles and enjoy their beauty and functionality for decades rather than years. Remember that a small amount of regular preventive maintenance prevents costly repairs or premature replacement later.
Frequently Asked Questions
What is the PEI rating system for tiles?
The Porcelain Enamel Institute (PEI) rating system categorises tiles from Class 1 (suitable for walls) to Class 5 (designed for heavy commercial use). A Class 4 or 5 rating is recommended for high-traffic areas to ensure durability.
How does water absorption affect tile durability?
Tiles are classified based on their water absorption rates. Impervious tiles (absorption <0.5%) offer maximum water resistance and are ideal for moisture-prone areas, while non-vitreous tiles (absorption >7%) are highly porous and not suitable for wet environments.
What factors contribute to a tile’s strength and durability?
Key factors include the tile’s material composition (ceramic vs. porcelain), density and hardness, breaking strength, and coefficient of friction. Thicker and denser tiles generally provide greater durability against wear, scratches, and cracking.
How can I maintain my tiles to ensure longevity?
To maintain your tiles, establish a regular cleaning routine, select appropriate cleaning products, apply sealers to porous tiles, address grout issues promptly, and protect tiles from physical damage. Regular maintenance can significantly extend the life of your tiles.
Elevate Your Space with Durable Tiles from Hyperion
Choosing the right tiles is more than just a style choice; it’s a critical investment in the function and longevity of your home. As highlighted in our expert guide on tile durability, selecting tiles with the right PEI rating and water absorption levels can save you time, money, and frustration—ensuring you avoid costly repairs and replacements down the line.
!
At Hyperion Tiles, we understand these challenges intimately. That’s why we offer a curated selection of durable porcelain and ceramic tiles, perfect for high-traffic areas like kitchens and bathrooms. Whether you’re looking for moisture-resistant options for your wetroom or stunning mosaics to transform your living space, our user-friendly ecommerce platform makes it easy to find exactly what you need.
Don’t leave your investment to chance!
Start your journey to a stunning and long-lasting interior today—browse our extensive catalog at Hyperion Tiles and enjoy free shipping on orders over a certain amount. Act now, and ensure your home is as durable as it is beautiful!
Share:
How to Arrange Tiles: Ultimate Step-by-Step Guide for 2025